Although I have been known to toot my own horn on occasion, I am by no means an expert when it comes to gardening. That would be Bert.

What makes Bert an expert?
- She taught herself, so she learned the hard way by trial and error.
- She married a farmer.
- She used to have a garden the size of a football field. This was when I was like 5, so may be a slight exaggeration, but believe me it was huge.
- She's a mom and moms are always right.
So, my garden is obviously set-up for success! As you can see below when I arrived home from work Bert was geared up and ready to go.


Bert says "Gardening is easier with a cold beer."
Bert made it easy for me as she had all the plants already laid out and appropriately spaced, but here's the basics.
Bert made it easy for me as she had all the plants already laid out and appropriately spaced, but here's the basics.
Squash, zuchinni, cucumbers, rhubarb and cataloupe get big therefore we planted them about 2 feet apart. We put the cantalpope on the north edge as the willl grow on large trailing vines. As they grow we plan to trail them out onto the rocks, so they don't take over the entire garden.

We planted the tomato plants about a foot and a half apart and the rest of the plants including peppers, strawberries, and herbs about a food apart.

Did I mention strawberries? These are going to be FANTASTIC in my spinach, rhubarb, strawberry and feta salad.
Bert had a lot of information, so taking notes was key.

Okay, now it's planting time!
My cucumbers, zuchinni, some squash and tomatoes were plants therefore they were easy peasy! Some come in plastic disposable containers and some come in these biodegradeable pots that you can plants. We had the biodegradeable pots. Mom must've bought our plants in Boulder. Nonetheless we still removed them. Why? Because Bert said to. Dig a hole slighthly deeper than the height of the plant. Pour about 12 oz. of water into the hole then place the plant in and fill dirt back into the hole. Pack the dirt tightly by pressing down around the plant to eliminate air pockets.
The spaghetti squash came in a seed packet therefore required a different planting technique. Bert told me to pile up dirt and make a mound and then dig a moat round the mound.

Now using your finger poke the seeds about 1/2 inch down into the mound.


Perfect! Now cover the the holes where you poked the seed down and pack the mound tightly.
Now let's move onto the peppers. Typically there will be multiple plants in one container. Pop them out of their plastic container and then pull the plants apart with your hands.


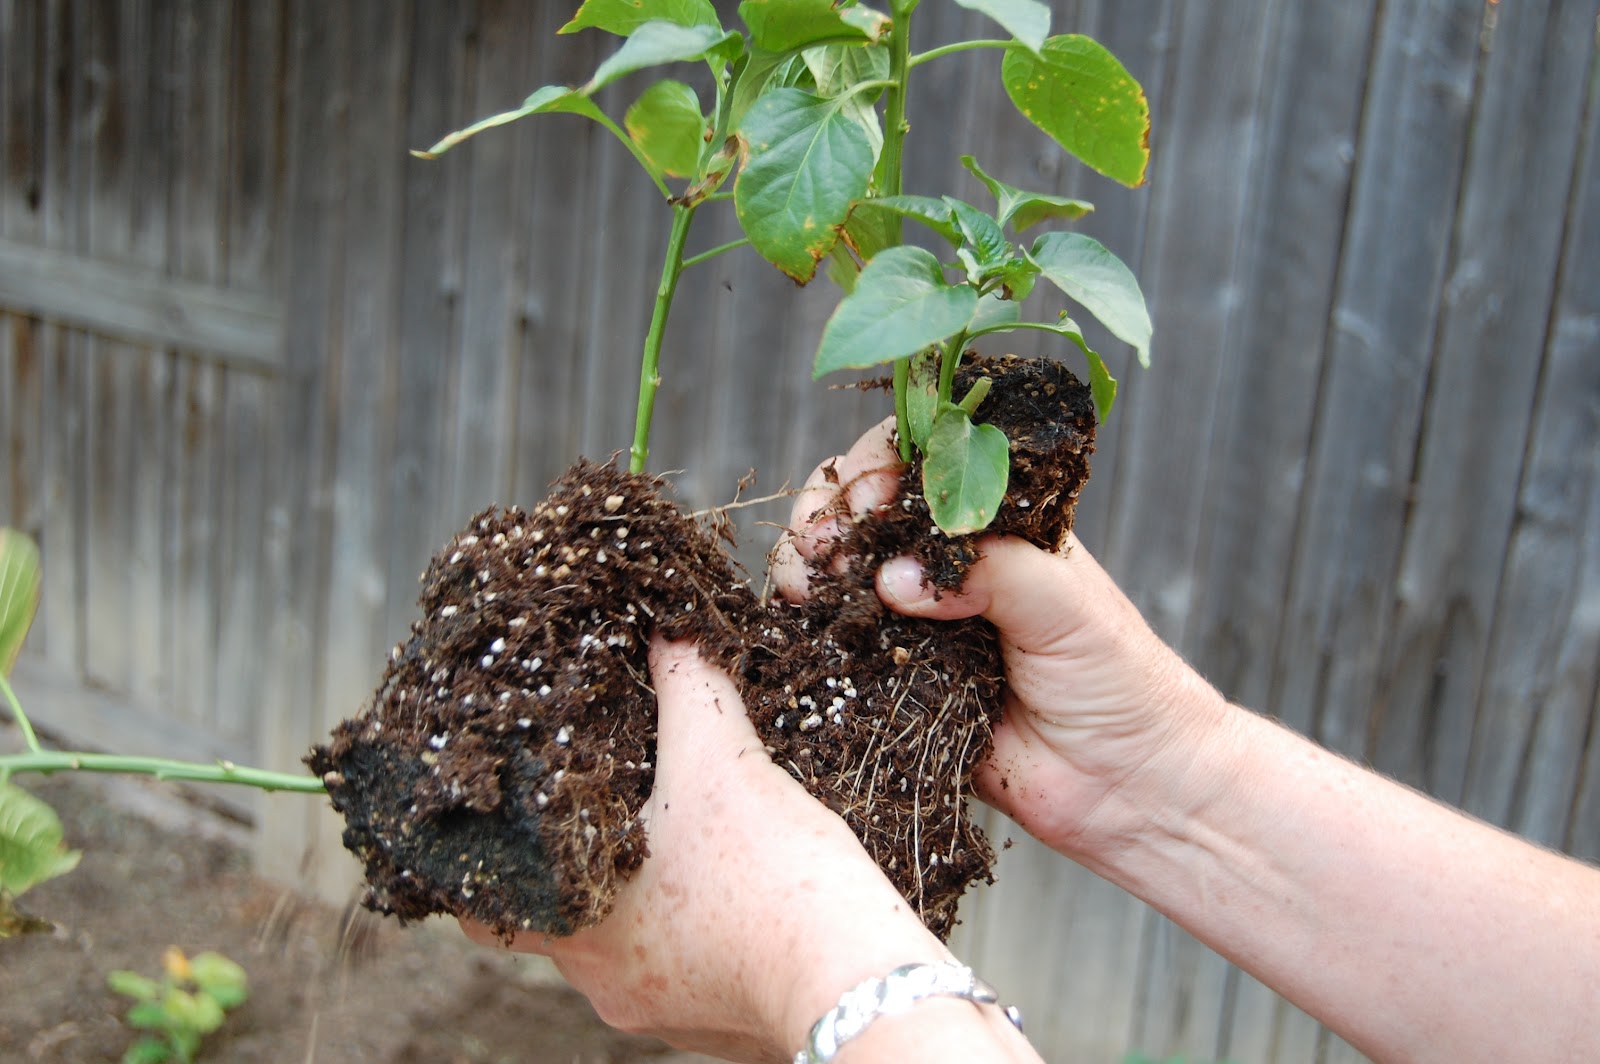


Good job Bert! Now plant these as individual plants approximately a food and a half apart.
Here are all of the plants planted and the spaghetti squash mound.

The plants that are spaced 2 feet apart are on the left and the plants spaced a foot to foot and a half apart are on the right.
Here is our other helper, my dog Oliver. He does not look like he's enjoying this nearly as much as Bert and I. Bert calls him Muttley, so maybe he's not talking to her today.

All that's left is the scallions which are planted in rows about 1" apart and the remaning seeds which include carrots, arugula, green onion, radishes, spinach, and a variety of lettuce. These are also planted in rows.
To plants the rows for the seeds we dug three ditches about 1" deep.


Wah lah!
Now sprinkle the seeds in the rows. Radishes grow fast, lettuce slow, and carrots and green onions are even slower.
Radishes - 21 Days
Lettuce - 45 Days
Carrots/Green Onions - 65 Days
So, we planted our rows like such:
Row 1 - Radishes and Arugula
Row 2 - Radishes and Green Onion
Row 3 - Carrots and Lettuce
To plant rows simply sprinkle the seeds in the ditch. If you plant too many don't worry as you can always thin later.


Now pile the soil over the seeds into a mound.


Now for the scallions. There were 6-10 plants per container, so we had a lot of plants to split apart. Pull them apart like we did on the peppers.


Plant the scallions by digging a 1" deep ditch and then packing the dirt around the bulb.


Now that is a garden!

Finish up by giving your garden a good healthy drink of water. Try to water around the plant instead of directly on it to avoid pushing soil away from the plant.
No comments:
Post a Comment